Step-by-step: How to Inspect Aluminum Window Frames for Salt and Paint Failure
2026-02-20
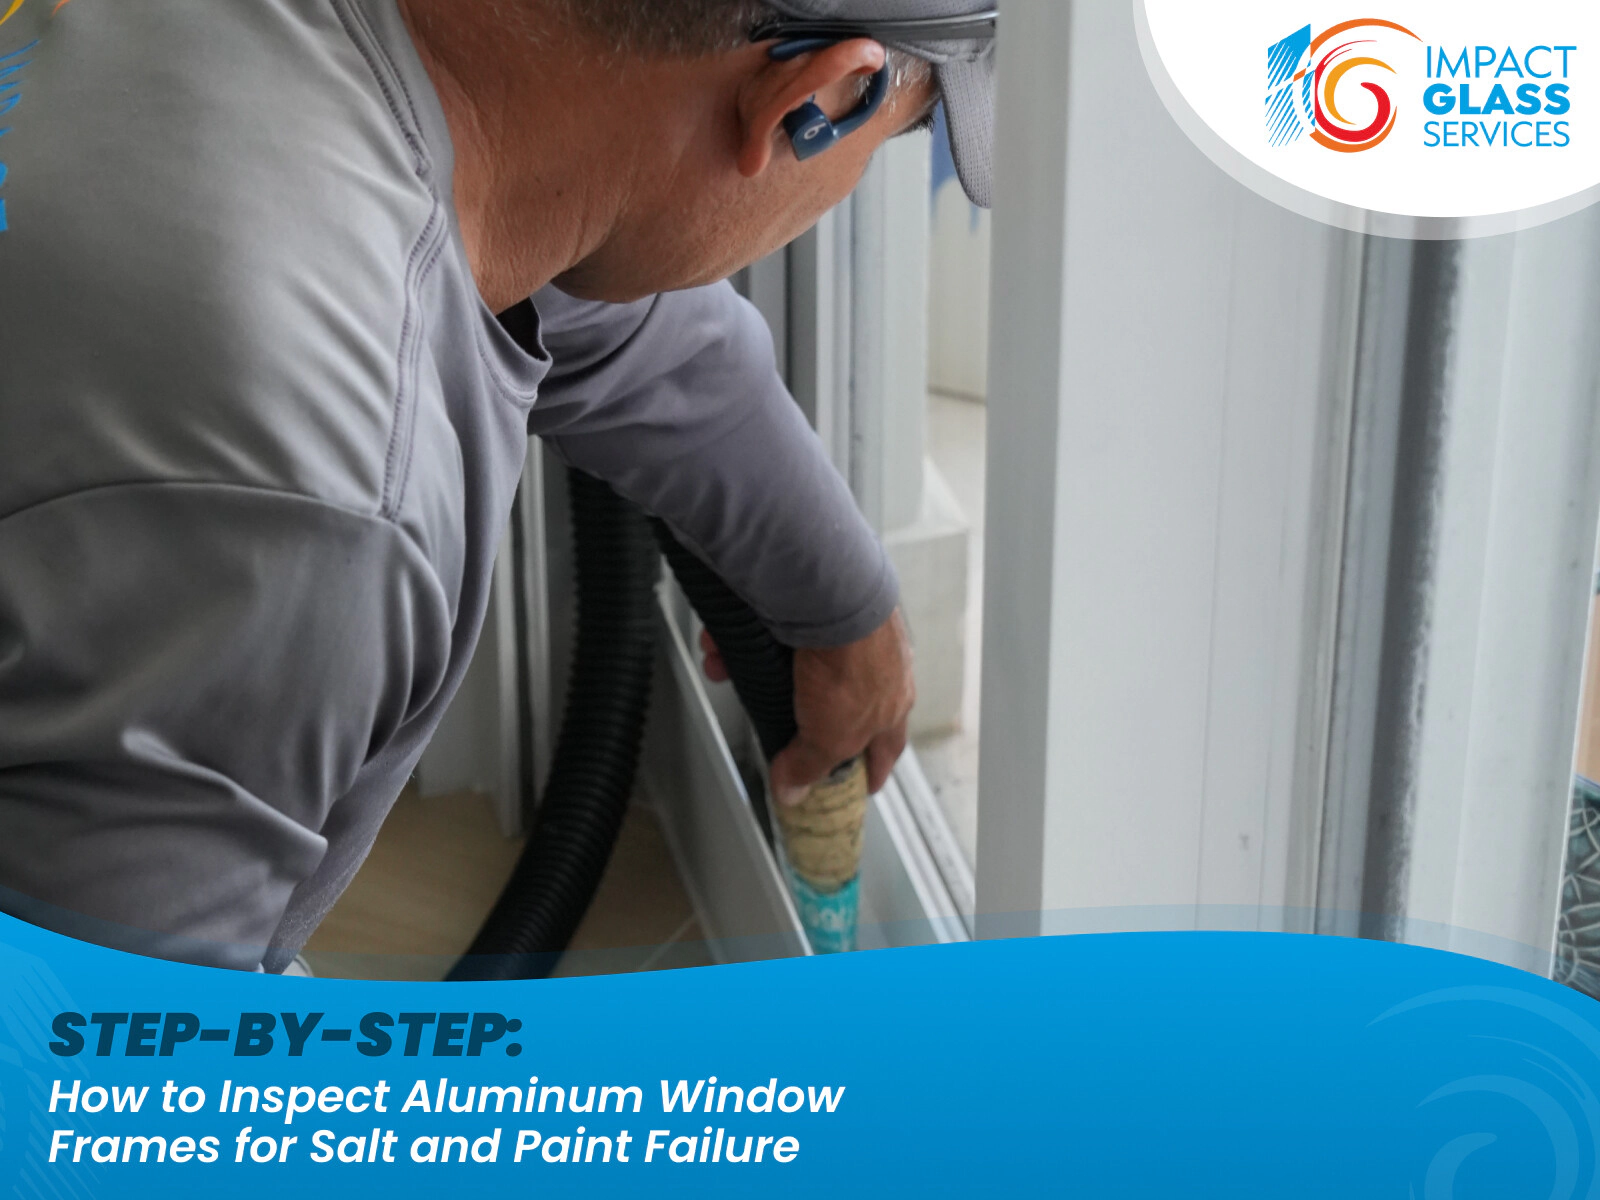
1. Start with a Visual Walk-Around (What Salt Damage Looks Like Early)
Before grabbing tools or calling a professional, your first inspection should be a slow visual sweep of every aluminum window frame. In South Florida coastal environments, salt air attacks aluminum quietly—often long before leaks or mechanical failures show up. Look for dull, chalky finishes, uneven sheen, or areas where the paint looks “tired.” These are early warning signs that the factory finish or previous coating is breaking down and no longer protecting the metal substrate.
2. Focus on High-Risk Zones (Where Salt Attacks First)
Not all parts of the frame fail at the same pace. Salt concentrates where water sits, airflow is low, or hardware interrupts the coating system. Pay close attention to these critical areas:
- Bottom tracks and sills where condensation and rainwater pool
- Corners and miter joints, especially welded or mechanically fastened areas
- Around rollers, locks, and handles where friction breaks the paint seal
- Exterior faces exposed to prevailing ocean winds
- Interior frames near balconies, where salt enters even with doors closed
If multiple zones show failure, that’s a strong sign the frame needs restoration—not spot touch-ups.
3. Perform the Touch & Wipe Test (Hidden Paint Failure)
Salt damage isn’t always visible. Run your fingers lightly across the frame—if you feel a powdery residue (aluminum oxidation) or paint transfers to your hand, the coating system has failed. Use a damp white cloth and wipe the surface: chalking, discoloration, or streaking indicate the paint has lost adhesion. This stage is critical because once oxidation starts under the paint, repainting without proper prep will fail fast.
4. Check for Blistering, Bubbling, and Pitting (Structural Red Flags)
Bubbles or blisters in the paint mean moisture is trapped beneath the coating. This is more than cosmetic—it signals active corrosion. Look closely for:
- Small pinholes or craters (pitting corrosion)
- Raised paint bubbles that crack when pressed
- Hairline paint fractures near corners and fasteners
At this point, standard repainting is no longer an option. Professional aluminum prep and electrostatic coating are required to stop the corrosion cycle.
5. Decide: Maintenance, Restoration, or Replacement
If the frame is straight, structurally sound, and operating correctly, salt and paint failure rarely justify replacement. In most cases, electrostatic paint restoration paired with corrosion treatment restores protection, appearance, and lifespan at a fraction of the cost of new windows. Replacement should only be considered when frames are severely deformed, structurally compromised, or no longer meet code requirements. A proper inspection helps you make that call before damage becomes irreversible.
Pro tip: In coastal South Florida buildings, inspecting aluminum window frames once a year—especially after hurricane season—can add 10–15 years to their service life when restoration is done at the right time.
For more information or to schedule a free consultation, call Impact Glass Services at 786-245-4595 or visit www.impactglassmiami.com