Step-by-Step Guide to Checking Window Operation After Concrete Restoration
2026-05-22
Why window operation checks matter after concrete restoration
Concrete restoration is brutal on windows—plain and simple. Chipping, grinding, rebar exposure, waterproofing, and recoating often happen inches away from aluminum frames that were never meant to take that abuse. Even if the glass didn't crack, the frame geometry, tracks, sills, and hardware almost always get compromised. In South Florida, where impact-rated systems depend on precise tolerances, skipping a post-restoration inspection can lead to air leaks, water intrusion, and long-term frame failure.
Step 1: Start with a visual frame and sill inspection
Before you touch the window, look closely. Concrete slurry, bonding agents, and waterproofing membranes tend to build up in places that affect movement. Pay special attention to the sill line and vertical jambs—this is where misalignment starts. Look for cracked coatings, exposed aluminum, bent extrusions, or patch material bridging between the concrete and the frame. If the sill looks "new" but the window suddenly feels tight, that's a red flag.
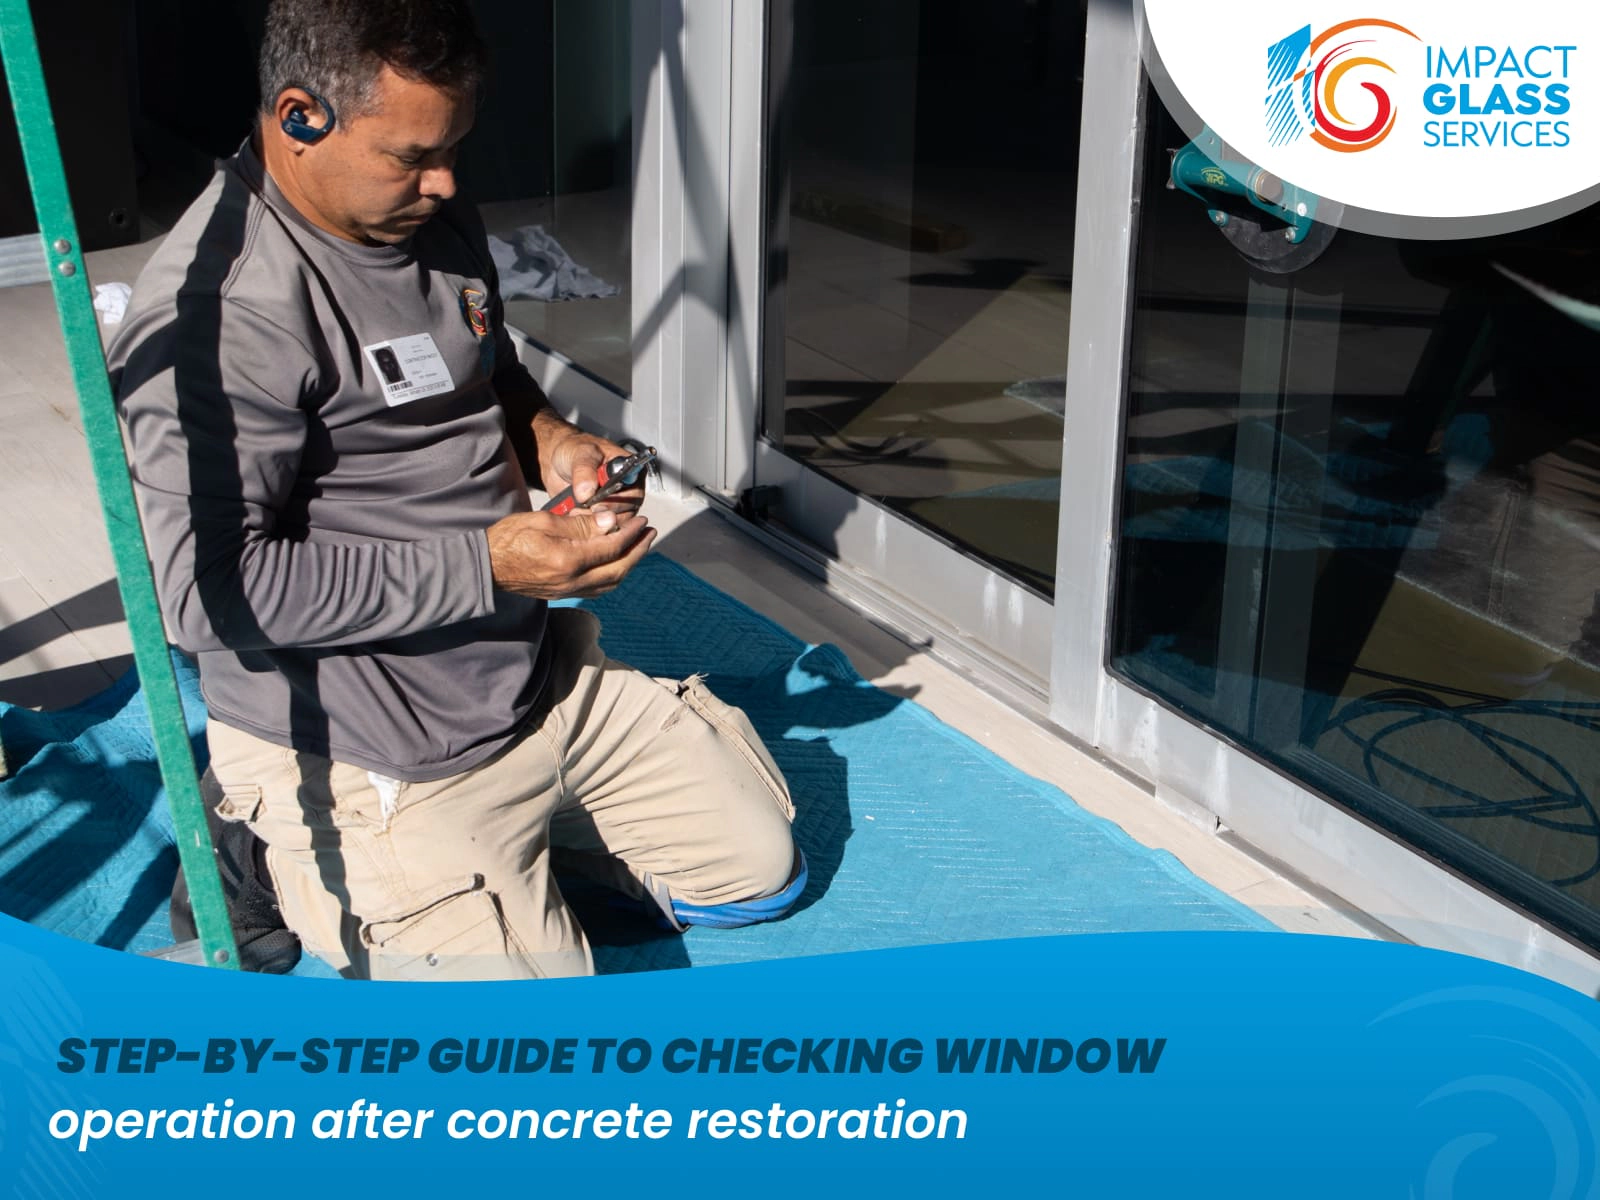
Step 2: Test window movement—slow and controlled
Never force a window after restoration. Operate it slowly and feel for resistance, grinding, or uneven travel. Sliding panels should glide consistently from start to stop. Casement and project-out windows should open smoothly without binding or frame flex. If you feel sudden tight spots, that usually means the frame was pushed out of square during concrete repairs, not a hardware issue. Forcing it can crack glass or rip anchors out of the substrate.
Step 3: Check these critical operation points (don't skip any)
This is where most owners miss problems until it's too late:
- Track condition: Look for concrete dust and debris, paint overspray, or epoxy inside the tracks
- Panel alignment: Panels should sit evenly—no rubbing at the head or sill
- Lock engagement: Locks should line up naturally, not need "lifting" or slamming
- Weatherstripping contact: Seals must compress evenly without gaps
- Drainage paths: Weep holes and sill channels must be clear and functional
If one of these fails, the window may still "open," but it's no longer operating correctly—or safely.
Step 4: Perform an air and water intrusion check
After operation testing, close and lock the window fully. Look for daylight leaks around the perimeter and feel for air movement—especially near corners. In many cases, concrete repairs alter the sill slope or bridge drainage channels, causing water to back up into the frame during heavy rain. What starts as a minor leak becomes corrosion, coating failure, and eventually glass-to-metal seal breakdown.
Step 5: Know when to call a window restoration specialist
If windows feel tight, leak, won't lock properly, or show fresh coating damage after concrete restoration, this is not a manufacturer warranty issue—it's a post-construction condition problem. Early intervention usually means cleaning, realignment, hardware tuning, and localized frame restoration. Waiting too long leads to full frame replacement conversations no owner wants to have. A professional post-restoration window inspection protects both your investment and your building's compliance in South Florida's harsh coastal environment.
For more information or to schedule a free consultation, call Impact Glass Services at 786-245-4595 or visit www.impactglassmiami.com